Foundations of Piano Technique
Early Training
A student’s technical development begins at the very first piano lesson. Think for a moment about your own experience as a student. How would you describe your technical training during your early years of study? If you were the recipient of excellent teaching, it is likely that you play with a free and fluent technique as an adult. If your training was lacking, however, you may still struggle with certain technical elements. To be sure, improving our own technique and learning how to teach it to students is a lifelong pursuit for all pianists.
I was fortunate to have an excellent teacher when I was in high school, and technique was always a major focus in lessons. My teacher, Nancy Bachus, spent substantial time working with me on technical foundations such as alignment, arm weight, and hand shape. My younger brothers still tease me today about the way I would warm up by dropping on a single note over and over to work on tone quality and follow through of the arm, wrist, and hand (the Lion Paw exercise). This emphasis on playing with a healthy technique continued into my undergraduate years with Dr. Karin Edwards, who was trained in the Alexander technique. The careful attention of my teachers to technique helped me develop into the pianist and teacher I am today.
As our students develop as pianists, we want them to have confident and positive feelings about piano technique, which can be defined as “physical gestures in piano playing that allow the expression of musical ideas.”
As a young teacher, I often pondered the best way to teach technique to beginning piano students. Dr. Julie Hague, co-author of Piano Safari, shared a similar interest, and she chose technique as her dissertation topic. In her research, she asked the following questions. Is there only one way to teach technique to children, and if so, which system is most effective? How important is hand shape at the beginning of study? What exercises or pieces are used to develop technique? These questions, amongst others, were the focus of her dissertation research, and were used to inform the technical approach used in the Piano Safari method.
Her research consisted of three sources:
- Technique book authors such as Matthay, Ortmann, Gát, Sandor, Fink, Bernstein, and Fraser.
- Pedagogical authors, including a thorough survey of piano methods and textbooks from the early twentieth century to 2006.
- Interviews and observations with exemplary pre-college teachers such as Marvin Blickenstaff, Carolyn Shaak, Mary Craig Powell, and Ted Cooper. These teachers used various method series and subscribed to different schools of technical thought, which included the Russian school, Suzuki, Taubman, and others.
Because Dr. Hague’s research was based on these three large sources of information, she developed a broad understanding about the topic of technique. In this article, I will share some of what she discovered and what we have incorporated into the Piano Safari method. Our primary goal is to assist students in forming a solid technical foundation that will allow them to access the highest levels of piano literature.
Dichotomy of Reading and Technique
When we start a new student in lessons, we usually provide them with a method book to learn piano. What is the purpose of these books? A survey of method series will show that their primary goal is to teach children to read notation at the piano. Technical exercises are often written out, with the implication that students should read the notation to play them. Now let's take a moment to think of the best way to teach reading and the best way to teach technique.
Just as students do not learn to read English immediately, reading music notation also takes an ample amount of time to master. Therefore, most method books present reading in a step-by-step way that focuses on a small range of notes, often in the middle of the piano.
By contrast, the best way to set up a fluent and confident technique at the beginning of study is to use gestures that move over the entire range of the piano using large arm movements. The worst way to teach technique is to constrain students to the middle of the piano using only finger movements. So you can see how the best practice for teaching reading, where focus is on on a small, middle range of notes, is at odds with the best practice for teaching technique.
The most extreme example is a Middle C method, which, by nature, is at odds with good technique. It sets up a hand shape with ulnar deviation, where the hands are out of alignment. This is an uncomfortable and cramped position. Also, because the hands are constrained directly in front of the body in a stationary position, there is no movement around the keyboard, and therefore no fluent technical gestures.
Methods for Developing Fluent Technique
So what is the bridge between teaching children to read music notation and develop a fluent technique? The bridge is to teach reading through one body of pieces, using the best practices for teaching reading, and teach a separate body of pieces and exercises by rote to help beginning students focus exclusively on the technical gesture.
To answer the question of WHAT to teach, we have taken this idea of using rote work as a bridge to technical development and integrated it into Level 1 of Piano Safari. We designed the method so that students learn a technical concept or gesture in an exercise taught by rote. Next, they learn an improvisation piece that uses the technique in a more free and experimental way. Finally, they play a rote piece that uses the technique. For further study on this topic, you may be interested in reading our Field Notes article The Rationale for Rote Teaching.
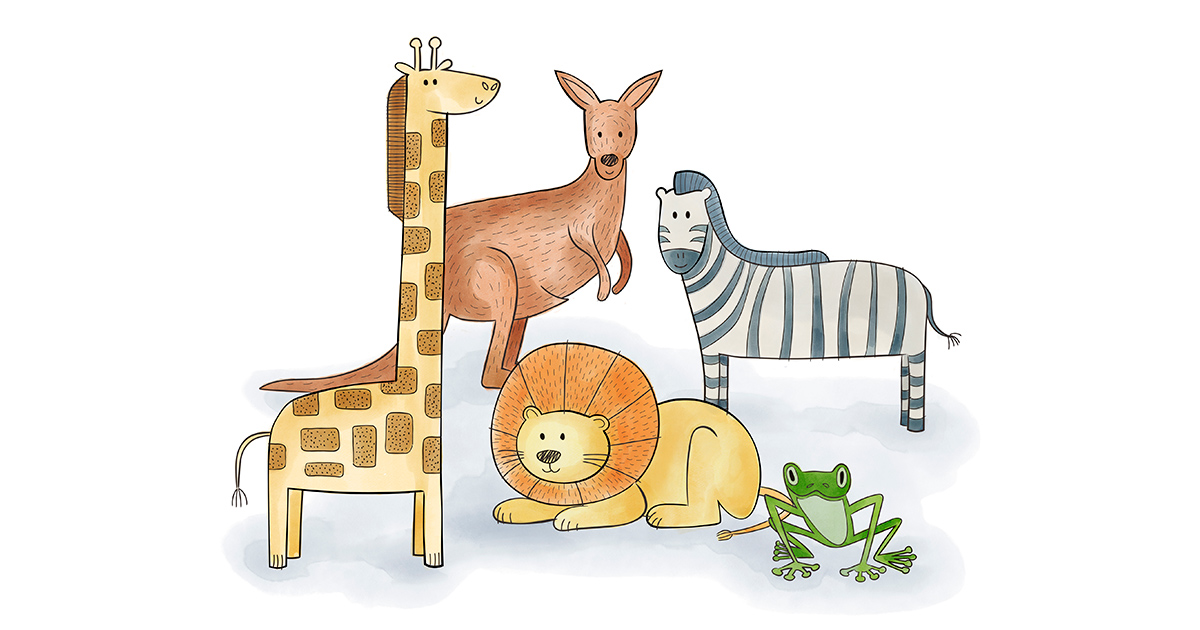
Piano Safari Animal Techniques
Piano Safari Level 1 contains seven essential techniques that are based on Dr. Hague’s dissertation and post-dissertation research. It is vitally important that beginners master these basic techniques before learning standard patterns such as scales, chords and arpeggios.
Lion Paw: Arm Weight
The first of the Animal Techniques is Lion Paw, where students learn to drop with arm weight to create a beautiful and ringing tone. Relating technical ideas to animals makes them more memorable and engaging for young children, so we ask students to pretend to be sleepy lions. We first practice finding a relaxed and heavy “Lion Paw” arm away from the piano. Then we transfer this motion to the piano by dropping on D, which is the easiest key to find due to its location between the two black keys. This exercise is taught to each hand by rote, first on D, and then on other white keys.
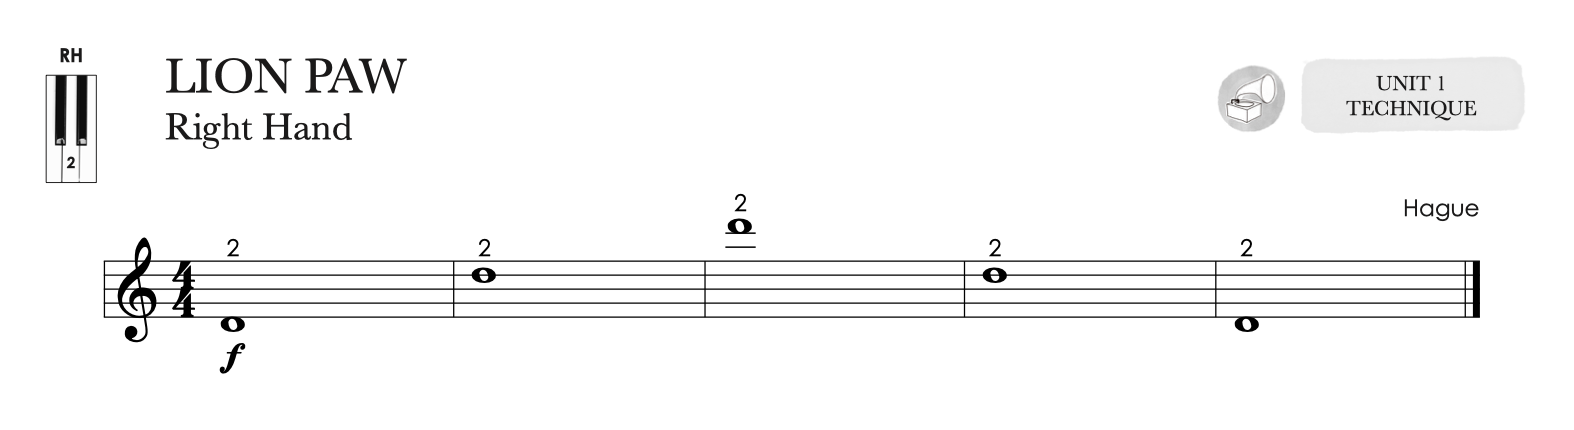
Although this technique may look easy at first glance, quite a bit of complexity exists. The student must release the weight of the arm in order to drop using gravity rather than force, all while maintaining a stable finger joint and rounded hand when they come into contact with the key. Additionally, the wrist must follow through smoothly, dropping slightly below key level before leading the hand off the key for the release. At later stages, this foundational technique paves the way for students to play large chords and double notes with ease.
Tall Giraffe: Non Legato
One of the fundamental discoveries of Dr. Hague’s dissertation research relates to the order in which articulations are presented. It is best to teach non legato (portato) articulation first, followed by legato and staccato. Requiring students to play all of their pieces non legato for an extended period of time at the beginning of study prevents many common technical problems and allows for the development of a relaxed forearm, singing tone, and optimal piano hand shape. Additionally, students who play this way develop confidence in their aim as the arm aligns the hand and fingers with the key to be played. Non legato can be played with an exaggerated forearm stroke for each note, or with a smaller stroke, depending on the tempo, dynamic, and style of a passage.

This basic non legato technique is further refined through study of the Tall Giraffe Technique. Along with the non legato articulation, students use a graceful wrist motion to lift off the half note, which we liken to the tall neck of the giraffe.
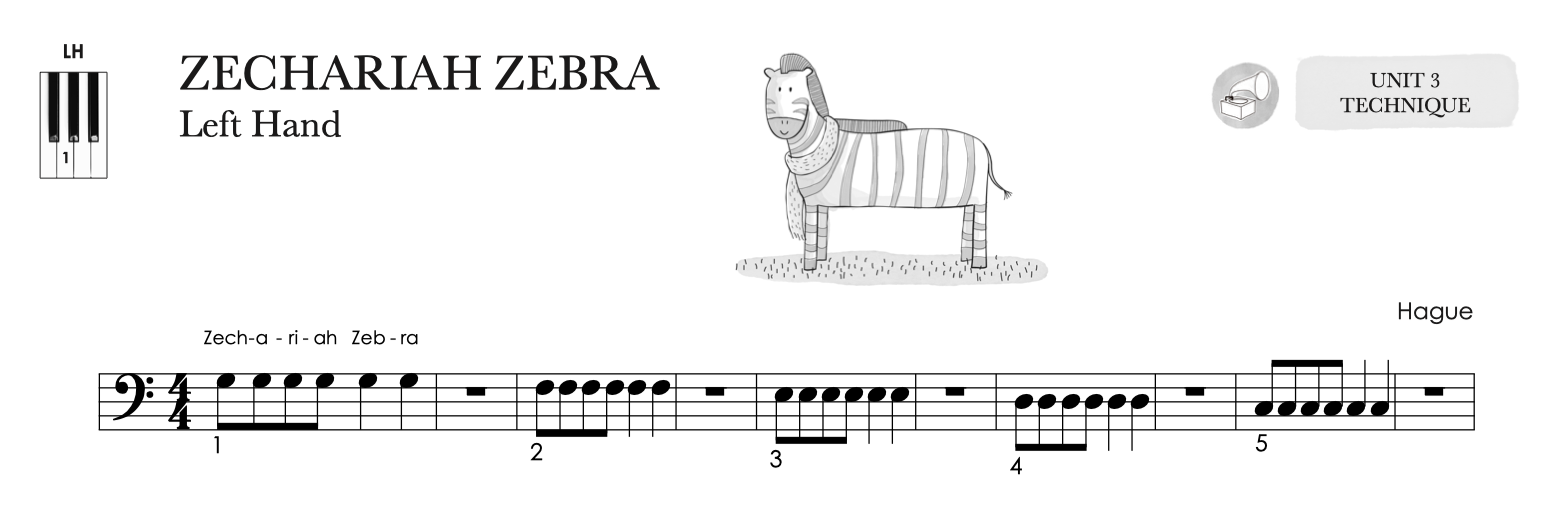
Zechariah Zebra: Hand Shape in Repeated Notes
The Zechariah Zebra Technique allows students to develop hand shape and firm the end joints of the fingers by concentrating on playing repeated notes one finger at a time. A whole rest is placed between each finger to allow students to reset the hand shape if it goes awry during the playing of a certain finger. Coordination and strength to play each finger with a correct hand shape takes time to develop. The measure of rest between each finger allows for growth toward this ideal.
Tree Frog: Legato
After the hand shape, firm fingertips, and relaxed forearm stroke are developed by playing non legato for an extended period of time, students may proceed to learning legato articulation. The Tree Frog exercise uses the same notes and rhythm as Tall Giraffe, but the fingers transfer the arm weight from finger to finger to create a legato sound. A small arm movement, or “bounce,” on each note keeps the arm relaxed and involved in tone production, and also preserves alignment. We named this the Tree Frog Technique because tree frogs hop (bouncy arm), and they have sticky fingers (legato connection). Most of a student’s playing will use this type of legato. The arm bounce builds relaxation into the student’s technique so that even in intermediate and advanced levels when the passagework becomes too fast to have a visible arm bounce, the relaxation will still be present.

Kangaroo: Hand Shape
Kangaroo is similar to the Zechariah Zebra technique, but the rest between each finger is omitted. By this point, the student should be able to preserve a good piano hand shape on each finger while playing consecutive fingers without a rest. Additionally, I train students to “end in the air” on the quarter note (the “roo”). This continues the momentum between each rhythmic group rather than stopping the motion on the surface of the key. Using momentum to travel across the piano keyboard is an important and necessary skill that students will use in more advanced repertoire.

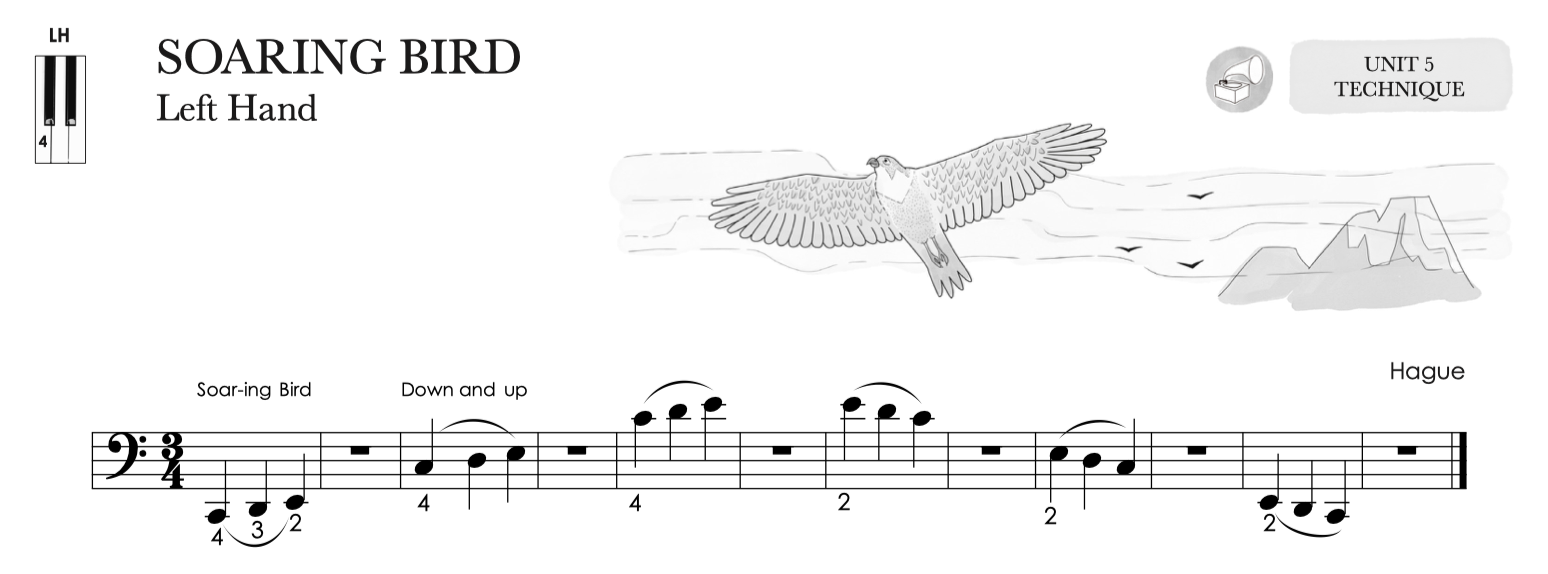
Soaring Bird: Legato with Slurs
This type of legato combines several notes of a slur or phrase with one arm movement, which is a more sophisticated gesture than was used in the Tree Frog exercise. The slur motion calls for active fingers that coordinate smoothly with the arm. Additionally, I encourage students to listen for the more-then-less sound on each slur, which is a musical concept that corresponds directly to the down-and-up technical gesture. Understanding how to play beautiful slurs is an absolute necessity for students as they progress into the standard repertoire.
Monkey Swinging in a Tree: Rotation
Rotation is an important technique used in repertoire at all levels, and therefore is an important addition to the beginner’s fundamental gestures. To play with correct rotation, the hand plays on strong fingertips, the arm weight transfers between the fingers, and the forearm, wrist, and hand move together in a well-aligned unit. As with all techniques, students should use a large motion when first learning the motion, which can then be minimized as the tempo increases.
To aid students in learning rotation, it is often helpful to compare the motion to turning a door knob. Alternatively, if you would like to make a connection with the safari theme, purchase a stuffed monkey that will hang on a child’s forearm. The student will then rotate the arm to make the monkey swing. Using props like this to teach technique make the entire experience more fun and memorable.

Summary
Students who have mastered these seven Animal Techniques will have a solid foundation on which to build as they continue their technical development in Piano Safari Levels 2 and 3 by learning standard technical patterns such as five-finger patterns, scales, chords and inversions, arpeggios, and more advanced techniques. In addition to their inclusion in Piano Safari Repertoire Book 1, the Animal Techniques, Improvisations, and Rote Pieces are included in a supplemental book published by Piano Safari called Animal Adventures.
Click here to watch Katherine demonstrating the Animal Techniques from Piano Safari Level 1.


