Teaching Piano Safari Friends in Groups: Part 1
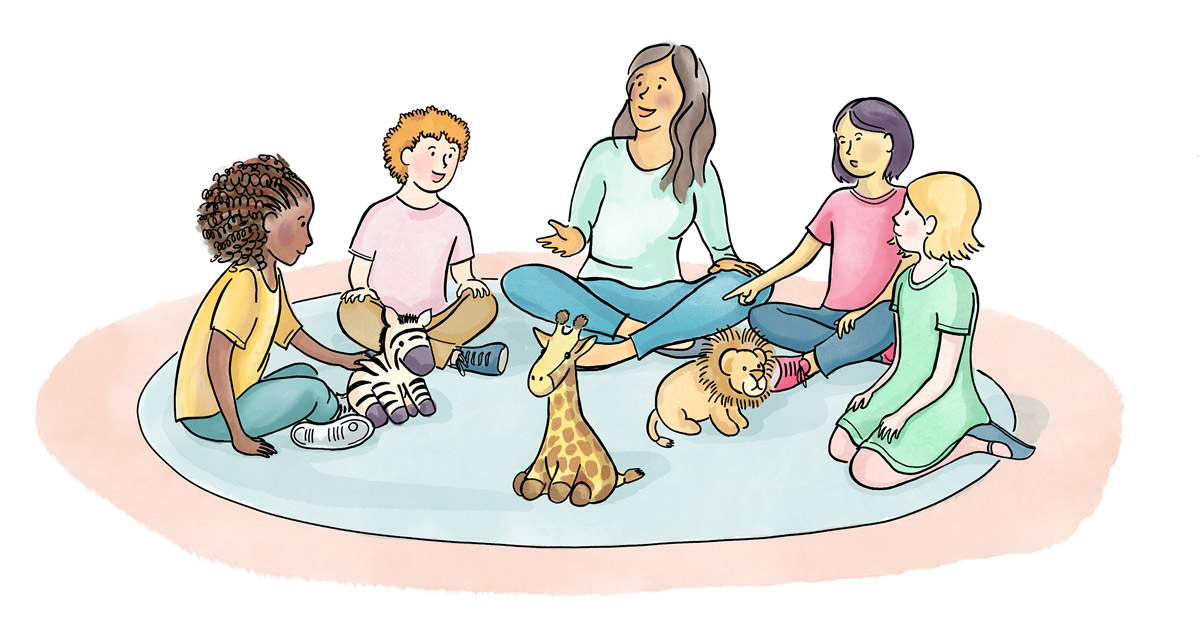
Teaching groups of young students has both joys and challenges, but above all, I have found it to be extremely enriching and successful. The students love to come to class and experience music alongside their friends. Groups also provide built-in opportunities to play games, improvise together, practice ensembles, and perform for each other. In this Field Note, I will share ideas for basic group class organization, along with specific tips for the opening activities and rhythm games I use during the first part of class.
Class Format
Over the past five years since Piano Safari Friends was released, I’ve had the opportunity to teach it to groups of students who are between the ages of four and six. My class format is unique because I have the unusual luxury of three university piano pedagogy students assisting me with the six children enrolled in the class. We begin with a thirty minute group class that includes everyone, and divide into smaller segments for the second half of class. With this said, the ideas I present in this article can easily be adapted for however your class is organized.
It is important to consider what format and class size best fits your personality, physical space and equipment. Following are some of the most common formats:
- One acoustic piano, 2-4 students
- Two acoustic pianos, 2-6 students
- A piano lab with electric pianos and headsets, 4-8 students
I highly recommend employing a teaching assistant if you have four or more students. Perhaps you might even consider hiring a high school student fill this role. This will also provide them with valuable teaching experience!
Class Structure
Connection and Community
I begin every class with a brief time to greet the students, connect with them, and just hear a little about their day. Students in the Friends age bracket (4-6) usually have quite a bit to share, and giving them a moment to say what is on their mind helps them concentrate later in class. I ask the parents to drop them off five minutes before our official start time to account for this. During this period, sometimes I give the students a coloring sheet and crayons to help them focus as they wait for the other students to arrive. There are simple coloring activities included in the Friends book that you can use for this if you wish.
Opening Activities
Class officially begins with activities on a large area rug I have set up near our two acoustic pianos. This rug has large, colorful squares around the outside border, so each student has an assigned spot that they can return to immediately when asked. So much of successful group teaching is designing logistics so that things run smoothly, with as little time as possible wasted on giving multiple verbal instructions.
Once at the assigned spots, we always start by reviewing the class rules. After many weeks of class, the students know these well, but never seem to tire of sharing them when asked! Sometimes I let them hold one of my stuffed animals (e.g. Zechariah Zebra) while they share. Our core rules are 1. Listen quietly when a teacher or another student is talking, and 2. Only play the piano when given permission. Depending on the personalities and activity level of the students in your class, you may need to devise some more specific rules throughout the course of the year.
After reviewing the class rules, we then stand up in our places and typically complete the following activities:
1. Warm-ups
- Shoulders up and down
- Forearms up and down
- Rotate forearms
- Wrists up and down
- Wiggle fingers
- Make finger circles to review finger numbers
2. Body Percussion
This activity helps build rhythmic ability while also teaching students to listen and observe carefully. Using the Animal Rhythm Patterns, the teacher claps or taps the head, shoulders, knees, or toes while chanting the rhythm. The students imitate immediately afterward in exactly the same manner. My students love it when I make this activity challenging.
3. Moving to Music
Moving to music helps the student’s entire body understand meter and rhythm. I usually choose pieces that the students will be playing later in class so that they have the piece in their ears and in their bodies as well. Moving to music can be employed in a structured way by marching or swaying. For example, in the piece “Hide and Seek,” the students might tiptoe to the beat to match the theme. In the piece “Picnic Time,” the students can sway back and forth on beat 1 in order to feel the big beat in 3/4 meter.


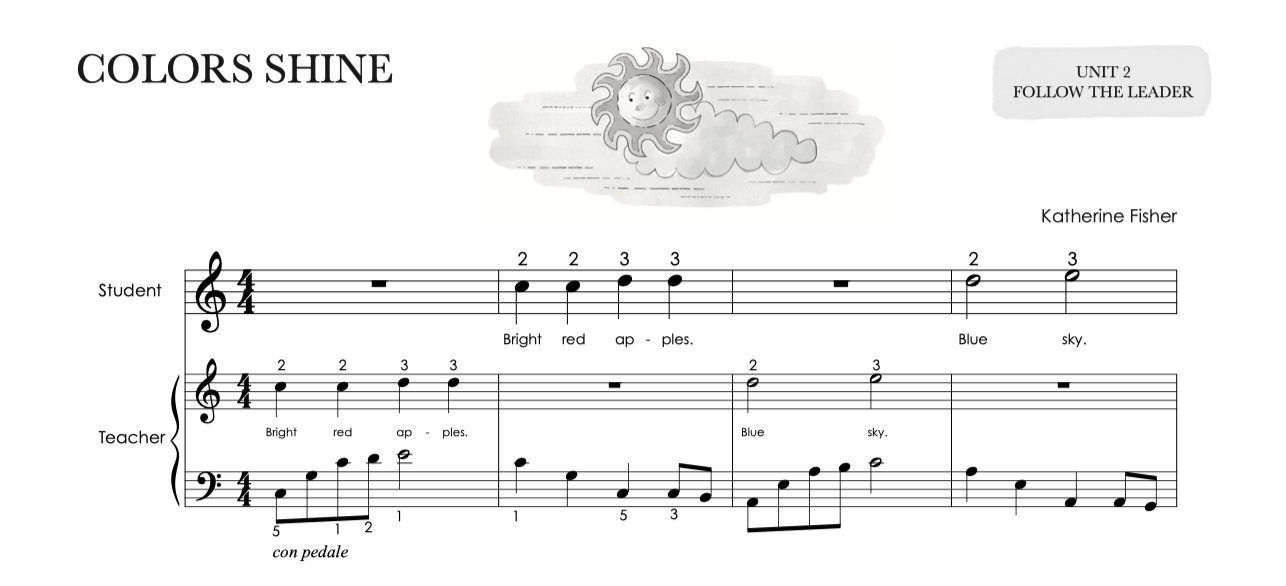
It is also important to encourage expressive movement. In the piece “Colors Shine,” I like to give students colorful scarves and have them move freely. This works well for more lyrical pieces.
4. Piano Decorating Kit
One of the goals of Piano Safari Friends is for students to securely learn keyboard geography (i.e. black key groups and location and names of the white keys). The book is designed so that each unit covers a letter in the Music Alphabet. When a student is in Unit 2, for example, the focus is the Letter C. Students practice locating C in every octave, and all of their pieces begin on C.
A teaching supplement that students absolutely adore is the Piano Decorating Kit. The kit has thick cardboard pieces that students lay on top the keys (teachers, please note- they do not stick!). Zebra triangles lay on the groups of two black keys, giraffe rectangles on the groups of three black keys, and individually lettered pieces lay on all of the white keys. My students never tire of decorating the piano and are excited every time I pull out the set.
I usually have them decorate just the letter of the unit, but by the end of the book, they are able to decorate the entire piano quite quickly and easily. Sometimes I divide the class in half and we have a competition to see which group can decorate the piano the fastest.
Decorating the piano is also a great (and quiet!) activity when you are working with smaller groups of students at the piano. The waiting students can decorate the second piano while they wait for their turn to play.
Rhythm Games and Activities
After the opening activities, we nearly always play a rhythm game of some sort. Here are some ideas:
- Rhythm Concentration: Turn the Animal Rhythm Pattern cards face down in a grid. Each card needs a match: for example, pair the Charlie Chipmunk illustration card with the corresponding notation card. Students turn over two cards to see if they find a match. If they do, they tap the rhythm and keep the cards. If not, they are turned back over. The student with the most pairs at the end wins.
- Rhythm Instruments: Provide a selection of interesting rhythm instruments such as a hand drums, tambourines and shakers. Students use these to echo back a rhythm, or to play chains of rhythms by reading the Animal Rhythm Pattern cards. They periodically switch instruments to keep interest, and we chain together longer and longer rhythms.
- Rhythm Hide and Seek: This is a favorite game! To play it, simply hide Animal Rhythm Pattern Cards around the room while the students sit on the rug with their eyes closed. When you say “go,” they open their eyes and walk to find a card. When they have one, they bring it to the piano and play the rhythm. This game is customizable for the level of your students. For example, if they are close to the end of the book, I might ask them to play the rhythm on B, hands together, using Finger 3 in both hands. By contrast, if they are at the very beginning of the book, I might let them play the rhythm on any white key and choose the hand. Adjust the activity for the knowledge level of your students.
- Rhythm Memory: Place a chain of four rhythm cards in a row. Tap and count the entire rhythm out loud once or twice. Tell the students to “take a picture with their eyes” and then turn over one card so the notation is hidden. Tap the rhythm again and see if students can remember the hidden card. Continue until all cards are turned over and the students are executing the rhythm completely by memory.
Summary
The ideas in this Field Note only cover the first part of class. Watch for the next installment, which will provide ideas for how to teach Follow the Leader Pieces and Rote Pieces in groups, and how to work on technique with multiple students. To be continued!


